How to get a new kitchen for under £150
Is your kitchen looking a little tired? If starting again isn’t an option, we show you how, with a few simple switch ups, you can makeover your space without breaking the bank.
You will need:
• Primer
• Sugar soap
• Large roller
• Two small gloss paint rollers and trays
• FrogTape
• Filler and a filling knife
• Eggshell paint for cabinets
• Eggshell paint for walls
• Handles for your cabinets
• Self-adhesive tiles
• A cutting knife, board and metal ruler
Plus:
• Dust sheets (or old bedsheets)
• A large sponge, bucket and gloves
• Sandpaper and a sanding block
• Drill
• Screwdriver
Let's get started!
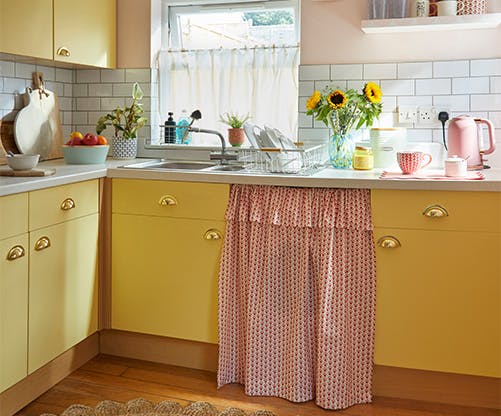
If the heart of your home is making your heart sink, one wallet-friendly way you can breathe new life into it is by giving your cupboards a new lick of paint. It’s easier than you might think – and works a treat on plastic-coated MDF doors.
1. Ready, set, prep
Preparation is key for nailing a professional finish, so start by removing the handles from your units and taking the doors off their brackets. Pop on some rubber gloves and mix the sugar soap with water. Wipe down all your units with the solution and allow them to dry fully.
2. Fill the gaps
Fill the holes where your handles were using filler. Once dry, gently sand down the area for a smooth finish. Repeat if necessary.
3. It’s prime(r) time
Use a roller to apply two coats of primer on both sides of the doors (don’t forget the edges). Make sure to let them fully dry in between coats.
4. Add a splash of colour
Apply three coats of your chosen eggshell paint to the doors to achieve a full, even coverage.
Top tip! To prevent paint from dripping into the groove of the paint can, fold a little foil over the lip to catch any leaks.
While your cabinets are drying, turn your attention to your walls. A new coat of paint will bring a fresh feel to your kitchen in an instant. Opt for eggshell, which is durable, wipeable and resistant to mould, grease and steam.
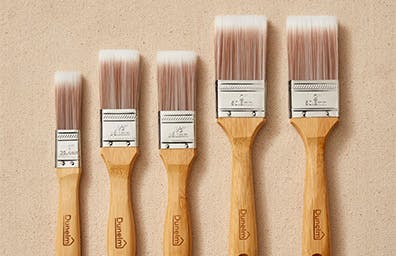
Prepare the area by masking windows, sockets and tiles with FrogTape – and pop a dust sheet down for larger spaces. Use a roller to apply two coats of paint for an even coverage. For tricky corners and edges, use a small-angled brush to cut in for a neat and tidy finish.
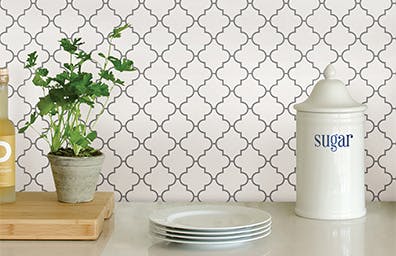
If retiling your kitchen isn’t on the cards, then self-adhesive tiles are your friend. These nifty peel-and-stick wonders are fast, faff-free and totally foolproof, making them just the thing for a budget-friendly makeover. Available in a range of styles, patterns and colours, simply peel off the backing, stick them onto a clean, dry surface and you’ll have durable, wipeable walls in an instant.
Starting in the top corner, stick down your first tile. Smooth out any air bubbles and make sure it’s positioned squarely. Layer the next tile, overlapping it on the ‘grout’ of the previous one. Use a knife, metal ruler and chopping board to cut tiles to fit around sockets and corners.
Top tip! Loosen plug sockets with a screwdriver to neatly stick tiles behind for a seamless finish. Switch off the electricity first.
Sometimes the smallest details can make the biggest difference. Swapping out the handles on your cabinets and drawers will add a touch of shine to your sparkling new space – and all for just a few pounds.
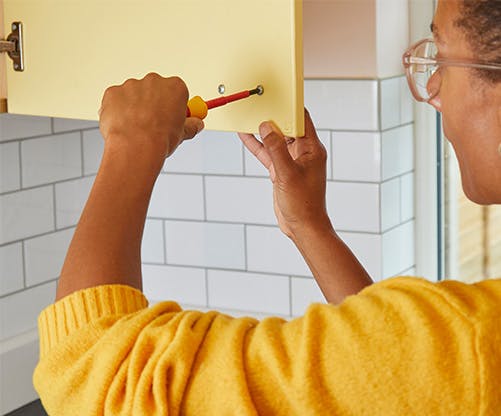
Start by putting the doors back on their hinges. (You may need an extra pair of hands for this!)
Create a guide for the handles by taping over the screw holes on the handles with masking tape. Mark the screw holes on the tape with a pen. Transfer the tape to the door and mark where to drill the holes using the tape as a guide.
With the door closed and cupboard empty, drill holes for the handles. Use a screwdriver to secure your handles in place.
And that’s it! A new kitchen that can be done in a weekend – and all for under £150!


